There can be a lot to think about when planning your videos! So many ideas can fly around so it’s best to organize and write down your thoughts.
- The Hook
- The Problem
- The Solution
- The Technology
- The Competition
- The End
THE PITCH VIDEO

THE HOOK
10 seconds
Grab your audience’s attention!
You have 10 seconds to convince the viewer to watch your video.
Start with a fun fact, a surprise, or just immediately state your problem and solution!
THE PROBLEM
60 seconds
Talk about the problem you are solving.
Explain why it’s important to solve.

THE SOLUTION
40 seconds
Show your solution!
Showcase some key features of your app or project.
Explain why your solution solves the problem.

THE TECHNOLOGY
30 seconds
Why this solution?
Convince the viewer that this solution is the best way to solve this problem.
THE COMPETITION
30 seconds
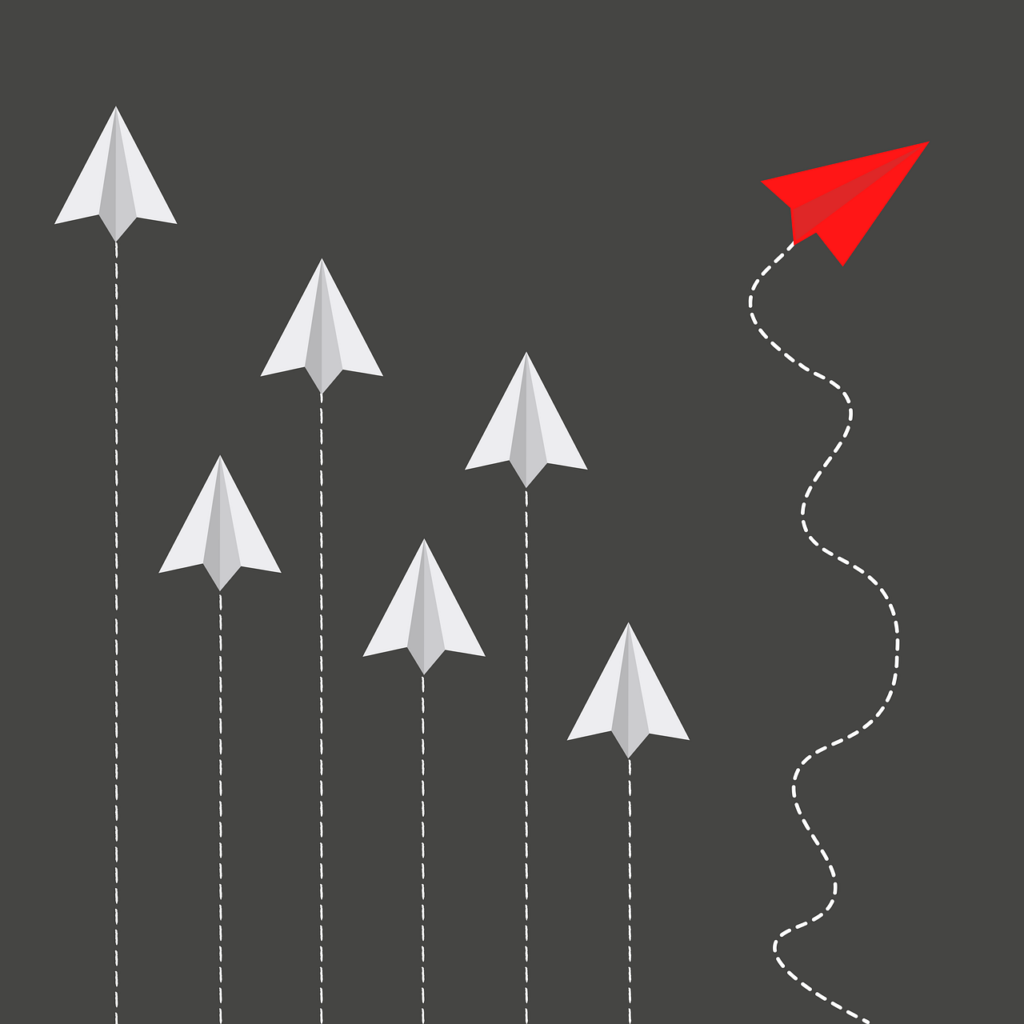
Prove that this solution stands out.
Talk about what solutions already exist and explain why yours is better.

THE END
10 seconds
End with strong inspiration!
Remind the viewer about the main reason for your project and tell them what to do next.
For example, they should use your app when it’s complete!
This video below is an example of a Technovation Pitch Video!
THE TECHNICAL VIDEO
Your Technical Video has a different purpose and should follow a different structure:
- Introduce your project
- Explain how it works
- Talk about users and feedback
- Explain how you coded it
- Look to the future

INTRODUCTION
15 seconds
Restate your problem and solution.
Explain briefly the problem you are solving and what your solution is.

HOW IT WORKS
60 seconds
Demonstration time!
Show off your app or project!
Give a demonstration of your app or project in action, so viewers know exactly how each feature works

USERS AND FEEDBACK
30 seconds
It’s important to show you stayed connected to users.
Talk about feedback you got and how it affected your project.
THE CODE
45 seconds
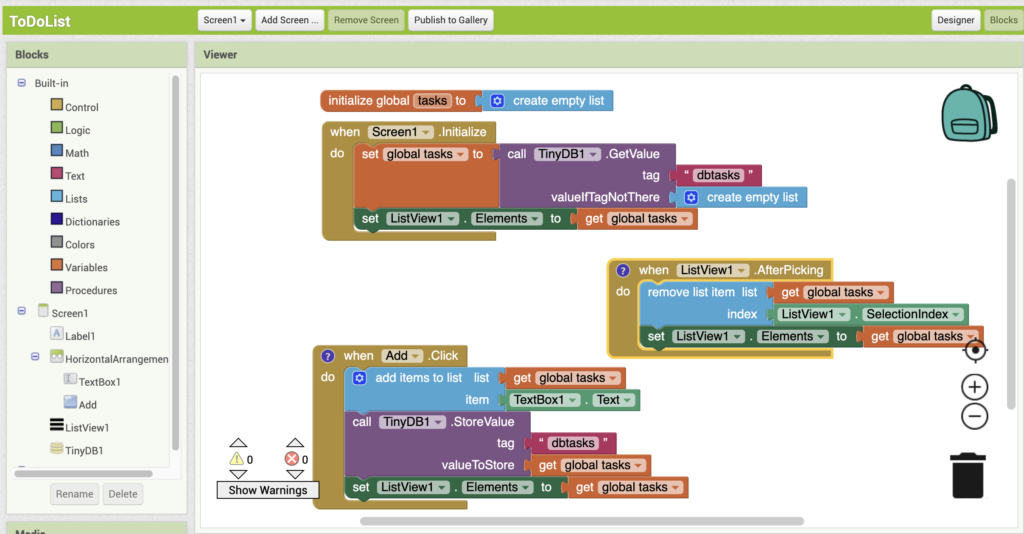
Show off your technical knowledge.
If you made an AI model, you can talk about how you built it

THE FUTURE
30 seconds
Explain what you can do better. It’s okay if not everything works yet!
You can really get viewers interested by showing that you have plans to make your project even better!
This video below is an example of a Technovation Technical Video!
The most important thing in the technical video is to show what you made, and how it works!
THE OUTLINE
The outline is where you make a list of everything you want to cover in your video.
This first two activities will help you organize your videos and make sure you answer all the questions in the judging rubric.
ACTIVITY 1: OUTLINE YOUR PITCH VIDEO
ACTIVITY 2: OUTLINE YOUR TECHNICAL VIDEO
STORYBOARDS
Once you have your big ideas down, you can now start your storyboard.
In a storyboard,
you draw out what
you imagine your video will look like.
A storyboard does not need to have fancy drawings or even be in color. It’s just a way for you to visually plan out your video.

Phone is on the table
It starts to ring
Jane reads the message
A storyboard can be as simple as this!
Even if this storyboard is simple, we all have a clear idea of what the video will look like now.
TRY IT OUT!
Coco lost one of her shoes!
She looked under the sofa but found a penny instead.
Read the short story above. Imagine what the story would look like and draw it out on a storyboard.

Stick figures are ok! The pictures are for you and your team to decide the story you will tell.
Now you will make a storyboard for your pitch and technical videos!
ACTIVITY 3: STORYBOARDS
Use your PItch and Technical Video outlines to make sure you answer all the outline questions in your storyboards.
SCRIPTS
Once you have your storyboard completed, you can now work on the details of your video with your script.
In a script,
you write down
everything that
happens in your videos.
Here are some parts to include in your script.


Setting
Where will you record your video? Deciding where your video takes place helps you imagine what your video will look like. You can have more than one setting in your video!
People
Who is talking and what are they doing? Especially if you’re working with a lot of people, you can note down exactly who is present and their actions.
What is said
What exactly are you going to say? By writing it down, you can make sure that you’ll remember all the important points.
TRY IT OUT!

Look at the picture above and try writing a small script! Where are they? Who are these people? What are they saying?
As you write the scripts for your videos, have your outlines and storyboards by your side and check off each answer as you add it to the script!
You don’t have to follow the order of the questions but make sure you answer them all in your videos.
Your scripts can be used later as the subtitles for your videos!
THE VALUES SANDWICH
The Values Sandwich is a way to help others care about the same things you care about.

Say why the thing matters in a way that’s easy to understand
Then say what the thing is
Then explain again in different words why it matters
Here is an example.
Everyone deserves to enjoy nature and should learn about protecting the world we live in.
Our app, EcoFriend, connects people who care about the environment so that we can work together to solve problems.
By working together, we can achieve more to help make our Earth cleaner for years to come.
TRY INCLUDING YOUR VALUES SANDWICH IN YOUR SCRIPT!

Once you’ve written your script. Try practicing it!
ACTIVITY 4: SCRIPTS
Use your PItch and Technical Video outlines and storyboards to guide you.
GETTING FEEDBACK
Now that you have your outline, script, and storyboard, this is a great time to get some feedback on what you’ve done!

Feedback is important because it’s useful to know that your materials make sense from an outsider’s point of view.
Find a helper (or two!) to give your materials to.

Then ask these questions:
- What problem am I trying to solve and why is it important?
- How did I solve my problem?
- How is my solution unique?
And then ask:
- Did everything make sense?
- Do the parts flow together?
- Do you understand how my app or project works?

Once you’ve gotten your feedback, go back to your materials and update them with the advice in mind. Then ask for feedback again!


