Outline Project Video

  • Learn about the requirements for the project video
  • Create outline to plan your project video 
  • Create a storyboard and script for your project video

PREPRODUCTION

The pre-production phase of the video making is the part you need to plan before you start to record.

You will have 4 minutes to make a case for your project and demonstrate the technical aspects of your digital solution. Don’t be afraid to show your personality and passion for the problem you are solving!

Let’s first go over what should be included in your project video for Technovation Challenge.

what's your story

The Project Video

Goal: Present your project, show how your digital solution works, and share how you built it. You will do so by answering the following questions:

  • What have you built and what problem are you solving with building it?
  • How does your problem relate to the United Nations’ Sustainable Development Goals?
  • Why is this problem important to you and the community you’re solving it for?
  • Who are your target users? How did you test your app with your users?
    What are some key features of your solution, and how do they work to solve the problem?
  • How did you build your digital solution? What was your development process? Did you use AI to build your project – if yes, how? Is your digital solution AI-powered?
  • (Seniors only) What are your business and financial plans to launch your app?

TIMELINE FOR PROJECT VIDEO

Below is a suggested timeline for the 4 minute project video.

10 seconds
10 seconds

The Hook

Grab your audience’s attention! Start with a fun fact, a surprise, or just immediately state your problem and solution!

30 seconds
30 seconds

Introduce the Problem

Clearly state the problem you are solving and explain why it matters to your team. Talk about research you did on the problem you are solving. Relate it to the UN SDGs.

40 seconds
40 seconds

Technology

Show some key features of your app that clearly demonstrates how it solves the problem. Explain how your solution is the best solution compared to others.

40 seconds
40 seconds

Users

Show how users provided feedback that was helpful in developing your app. Actual footage of users is encouraged!
40 seconds
40 seconds
Child using system AI Chatbot in computer or mobile application. Chatbot conversation, Ai Artificial Intelligence technology. OpenAI generate. Futuristic technology. Virtual assistant on internet.

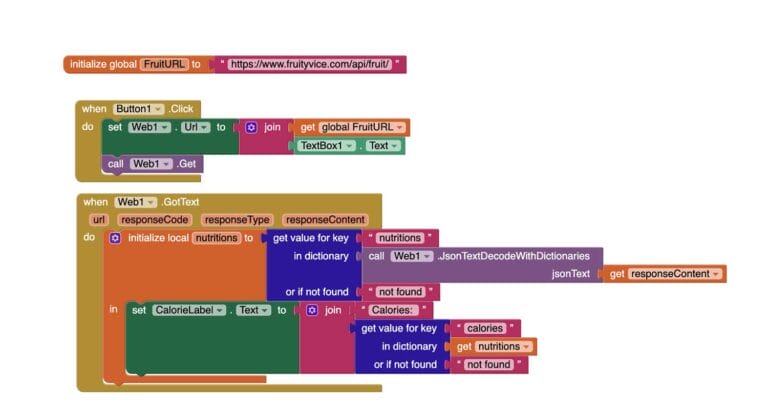
How You Built It

Convince the viewer you know your technology! Explain some key building components from your solution and how they work. If your solution includes AI, you can show your dataset and how you trained your machine learning model, or how you integrated tools to make your solution AI-powered. If you used a GenAI tool to help you build your solution, this is where you explain that process. Talk about what you used, your prompts, how you interacted to achieve your goals.
40 seconds
40 seconds

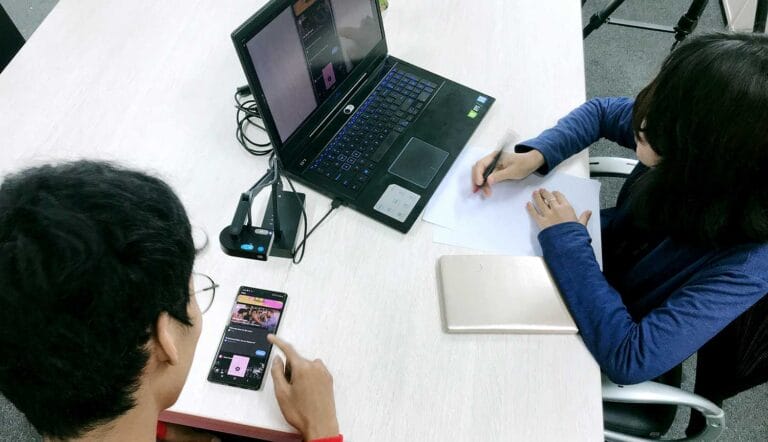
Iteration

Explain your development process. Building your solution took time and many revisions. Explain how you tested the solution, how you got users to test it, and how that feedback affected the final solution. You can also include your iteration process with GenAI tools here if you used them.

30 seconds
30 seconds

Business Plan (Senior Only)

Briefly talk about your business model and your financial plan for launching your business. 

10 seconds
10 seconds

Wrapup

Conclude your video with a quick summary. Remind the viewer why your project is the best solution to the problem.


INSPIRATION

Below are project videos from past Technovation seasons that can help you get started.

As you watch them, think about what you like and how you’d incorporate that into your project video.

Consider the following questions:

  • What makes their presentation stand out? Is there a personal story that explains why they care about the problem? 
  • Do they use visuals? Are they well used?
  • Is their problem statement and explanation of the technology solution strong? Is it clear?
  • Do you understand how the digital solution functions?
  • Do you understand the steps taken to build the project? 
  • Do the future plans for their idea make you excited about its impact on the world?
  • If they used AI tools, or if their solution is AI-powered, was it clear how they used or integrated AI into their solution? 
  • Did you see evidence of iteration through user testing and feedback?
  • Was their video easy to understand and clearly organized? Why?
  • Click each app name to view the video. 

Note: Some of the requirements and video lengths may be different in other Technovation seasons.

Connects users with opportunities in technology, learning, and innovation.

Helps players change their behavior to become more eco-conscious.

Teaches young people about puberty.

CREATING THE OUTLINE

The outline is where you start making a list of all the points you need to address in the video.

Use the judging rubric to create a list of questions you will answer in the video. 

Click each box below to see an example outline question, possible answer, along with supporting materials. 

question
Question
How did you get user feedback on your problem and solution?
my answer
My Answer
  • We sent out polls to the local neighborhood online group.
  • We ran individual user tests with community members and our prototype.
  • We interviewed experts in the field for their insight to the problem we chose.
materials to help me make my point
Materials
  • A visual summary of poll results
  • Recordings of our user testing sessions
  • A quote from the expert we interviewed .

ACTIVITY 1: OUTLINE PROJECT VIDEO

Estimated time: 30 minutes

Use the worksheet to organize your video

  1. Address each part of the judging rubric by answering each question.
  2. Refer to past lessons and identify materials you can use for the video.
Note you can make a copy of the worksheet and edit as needed.
Open worksheet

STORYBOARD & SCRIPT

Now that you have your outline, you can create your script and storyboard.

These two elements are very important in the preparation or pre-production phase of your video making.

They both help to clearly convey important information and ideas to everyone (including yourself!) involved in the filming process. You can create the script or storyboard in any order you wish, but it’s helpful to do both! 

The Storyboard

The storyboard is the visual method of organizing your video creation thoughts.

It looks similar to a comic book. You also don’t have to be an artist to make a storyboard though!

Creating a storyboard isn’t about drawing really well, it’s just for you to get your thoughts down visually to lay out the flow of the video. 

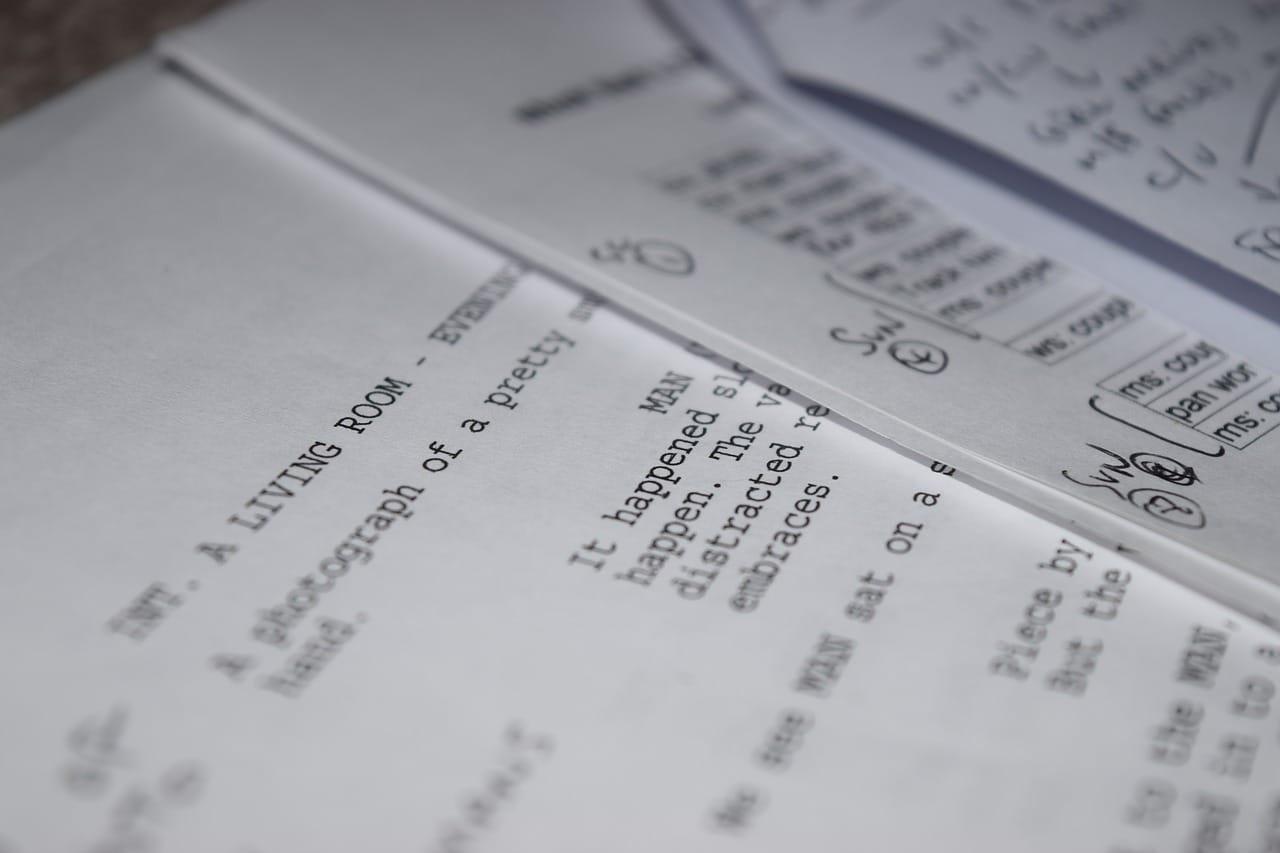
The Script

The script is where you write out exactly what will be said in the video. If you have already created your storyboard, then you should work from that to fill in the words that will be spoken during each scene, or box, in the storyboard. 

If you prefer to start with the script, use your outline as a starting point.

Make sure to cover everything you wrote down in the outline. However, don’t just restate everything in the outline! Make it compelling! How can you hook your audience to make them want to listen to your message?

PARTS OF THE SCRIPT


PLACE-TIME:

This is where the action on the screen happens. Describe what happens on screen and any important movement that should be noted.


CHARACTER NAME:

This is the dialogue or exact words that the character would say. 


TRANSITION

EXAMPLE SCRIPT

OUTSIDE SCHOOL, AT PICNIC TABLE

Two girls sit, eating their lunch and talking.

LAURA:

I have been having trouble waking up to my alarm every morning. I am late for class all they time!

MARISA:

That’s not good. I’ve been taking a coding class. Maybe I could make a mobile app that could solve your problem.

FADE TO NEXT SCENE

ACTIVITY 2: STORYBOARD YOUR VIDEO

Estimated time: 30 minutes

Use the worksheet to organize your videos visually

  1. Tell the story of the project video by drawing each part of the video (stick figures work!).
  2. Under each picture, describe what happens in that scene.
  3. Use multiple pieces of paper if necessary.
You can also use an online storyboard platform if you prefer.

Note you can make a copy of the worksheet and edit as needed.
Open worksheet

ACTIVITY 3: WRITE YOUR VIDEO SCRIPT

Estimated time: 30 minutes

Write the dialogue for your videos

  1. Check your outline to make sure you cover all points in your video.
  2. If you have made your storyboard, use them to guide your script.
  3. Do a separate script for the pitch video.

GET FEEDBACK

As always, ask a mentor, a parent, or a friend to give you feedback on your outline, script, and storyboard.

Remove anything that is unnecessary or extra.

Be sure to ask these questions for each video: 

  • Does it make sense?
  • How does it flow?
  • Is the core story being delivered?
  • Are we telling the story and the main messages in the best way possible?
feedback bubbles

REFLECTION

You have created the outline, storyboard, and script for your project video!

That’s a lot! But it pays to be prepared when you start recording your videos. 

Make one final check that you have covered all the necessary parts in your video.

Hold onto the documents you created in this lesson. You will use them when you record your video .

REVIEW OF KEY TERMS

  • Pre-production – planning elements of a video before starting to record 
  • Project video – its purpose is to get people excited about your idea by presenting the problem it addresses, how the solution works, and providing viewers insights on how you developed your solution and its potential impact
  • Storyboard – a visual outline of your video that helps you design a compelling story about your idea 
  • Script – the written words that will be spoken during a video

ADDITIONAL RESOURCES

Here are some of our favorite resources for how to craft a great pitch:


Check out some tips from past Technovation participants below on creating your pitch.